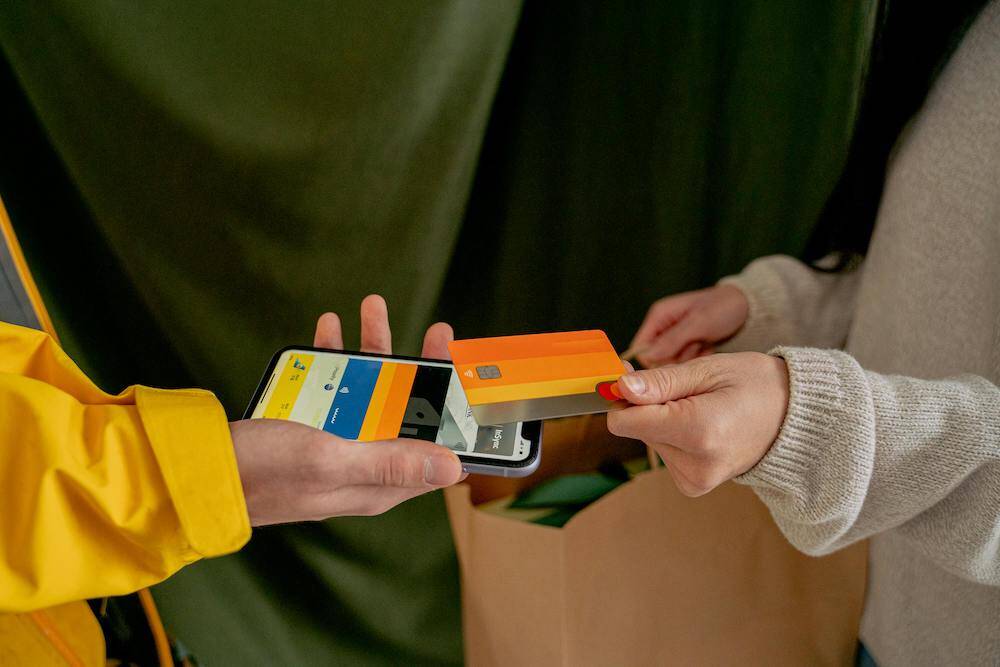
In today’s fast-paced world, the way we pay is evolving faster than ever. Gone are the days of digging for cash or swiping plastic cards. A simple tap of your smartphone or smartwatch is all it takes to make secure payments—anywhere, anytime. In fact, studies show that nearly half of all consumers prefer using mobile wallets for payments, and it’s no surprise why. Mobile wallets are not only quicker but more secure, offering enhanced features like encryption and biometric authentication.
Related Article: A Guide to Online and Mobile Banking
But while the convenience is undeniable, many are still figuring out how to properly set up and use these digital wallets. Are they safe? What if something goes wrong? In this guide, we’ll walk you through everything you need to know, from setting up your wallet to maximizing security while using it.
Why Should You Use a Mobile Wallet?
Before we dive into the step-by-step instructions, let’s talk about why you should consider using a mobile wallet.
Convenience
No more scrambling for cash or cards. With a mobile wallet, you can store all your payment methods in one place—right on your phone. Whether you’re paying for groceries, catching a ride, or shopping online, it’s as easy as a tap.
Enhanced Security
Mobile wallets use cutting-edge encryption to protect your financial information. Plus, with features like fingerprint scanning and Face ID, they add an extra layer of security beyond a PIN or signature.
Faster Transactions
Need to pay quickly? Mobile wallets make the process faster than traditional card payments—saving you time and energy, especially when you're in a rush!
Track Your Spending
Many mobile wallets offer easy-to-use features that let you track your purchases and manage your budgeting right in the app.
By now, it’s clear that mobile wallets can save time, boost security, and streamline your finances. But let’s break it down further and show you exactly how to get started.
Step 1: Choose the Right Mobile Wallet
There are a few popular options on the market: Apple Pay, Google Pay, and Samsung Pay. The one you choose often depends on your device.
Apple Pay
If you have an iPhone or Apple Watch, Apple Pay is the way to go. It integrates seamlessly with your Apple devices and is accepted at millions of locations worldwide.
Google Pay
For Android users, Google Pay is an excellent choice. It works across a wide variety of devices and offers additional features, such as saving loyalty cards, gift cards, and boarding passes.
Samsung Pay
If you own a Samsung phone, Samsung Pay might be the right fit. It supports both NFC (Near Field Communication) payments and MST (Magnetic Secure Transmission), allowing you to use it even on older payment terminals.
Once you’ve selected the mobile wallet that fits your device and needs, let’s move on to setting it up!
Step 2: Setting Up Your Mobile Wallet
Setting up a mobile wallet is quick and easy. Let’s walk through the setup process for Apple Pay and Google Pay—two of the most popular options.
For Apple Pay:
- Open the Wallet App: On your iPhone or Apple Watch, open the Wallet app.
- Add a Card: Tap the plus sign (“+”) to add a new card. You can either scan your card with your camera or enter the details manually.
- Verify Your Card: You’ll need to verify your card with your bank or credit card company. This might involve receiving a verification code by text or email.
- Set Up Face ID or Touch ID: To make payments more secure, you’ll need to set up Face ID (for newer models) or Touch ID (for older models) to authorize transactions.
For Google Pay:
- Download the App: If you don’t already have it, download Google Pay from the Google Play Store.
- Add Your Card: Open the app and tap “Add a Payment Method.” Follow the prompts to scan your card or manually enter the details.
- Verify Your Card: You’ll receive a verification code from your bank to complete the process.
- Set Up Fingerprint or PIN Authentication: For added security, set up fingerprint scanning or a PIN to approve transactions.
And that’s it! Both Apple Pay and Google Pay are now set up and ready to use.
Step 3: Making Your First Payment
Ready to make your first mobile payment? Here’s how to do it:
For Apple Pay:
- In-Store: Double-click the side button on your iPhone or Apple Watch. Hold your device near the payment terminal and wait for the confirmation.
- In-App: When shopping in an app that supports Apple Pay, simply select “Apple Pay” at checkout and confirm with Face ID or Touch ID.
For Google Pay:
- In-Store: Unlock your phone and hold it near the payment terminal. It will automatically detect the terminal and process your payment.
- In-App: At checkout, choose Google Pay as your payment method. You’ll be prompted to verify your identity with fingerprint scanning or a PIN.
Step 4: Keeping Your Wallet Secure
Mobile wallets are designed with security in mind, but you still need to take a few precautions to ensure your information stays protected.
Use Two-Factor Authentication (2FA)
Enable 2FA for any accounts linked to your mobile wallet. This adds an extra layer of security by requiring both your password and a secondary form of verification.
Enable Biometric Authentication
Use Face ID or Touch ID to authorize payments. This prevents anyone from using your mobile wallet without your biometric data.
Keep Your Phone Secure
Always lock your phone with a PIN, password, or biometrics. If your phone is ever lost or stolen, this step ensures no one can access your mobile wallet.
Monitor Your Transactions
Keep a close eye on your transactions for any signs of fraudulent activity. Many mobile wallet apps allow you to view transaction history and even set up alerts for spending.
Update Regularly
Make sure your phone’s operating system and your mobile wallet app are always up to date. Security patches and new features are often included in these updates.
Step 5: Troubleshooting Common Issues
Even with mobile wallets, issues can occasionally arise. Here’s how to troubleshoot some common problems:
- Payment Not Working? Ensure your phone has a stable internet connection, and check that your card is added and hasn’t expired. Double-check that the merchant accepts mobile payments.
- Unable to Add a Card? Some banks block card additions for security reasons. Contact your bank for assistance if you encounter this issue.
- Transaction Errors? If your payment doesn’t go through, verify that there are enough funds in your account, or check with your bank to ensure there are no holds or flags on your card.
Step 6: The Future of Mobile Wallets
Mobile wallets are evolving, and the future holds even more exciting developments! Here are a few trends to watch out for:
Loyalty Programs
Many mobile wallets are adding features that allow you to store and redeem loyalty points, making it easier to earn rewards while paying.
Wearables
Imagine paying just by tapping your smartwatch! The integration of mobile wallets into wearables is set to transform how we make payments on the go.
Is It Time to Switch to a Mobile Wallet?
The convenience and security of mobile wallets make them an appealing option for today’s fast-paced world. Whether you’re rushing to catch a flight, running errands, or shopping online, mobile wallets simplify the payment process—offering an unmatched level of security and efficiency.
If you haven’t already made the switch, now is the time! Set up your mobile wallet, follow the security tips, and experience the future of payments today. And remember, if you ever need assistance or have questions, your bank is here to help you navigate the digital payment world!